Fixing a Yamaha 9.5A pull-cord
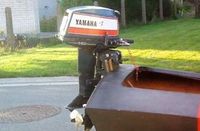 When I tried to start my old Yamaha 9.5A outboard engine the pull-cord broke. Oh well, at least I was still in my driveway and didn’t already have the boat in the water. So I set out to replace the pull-cord, which was an easy fix.
Since I forget to take pictures of the disassembly, I’ll document the repair in reverse order. Disassembly is the same as re-assembly, only in reverse order :-)
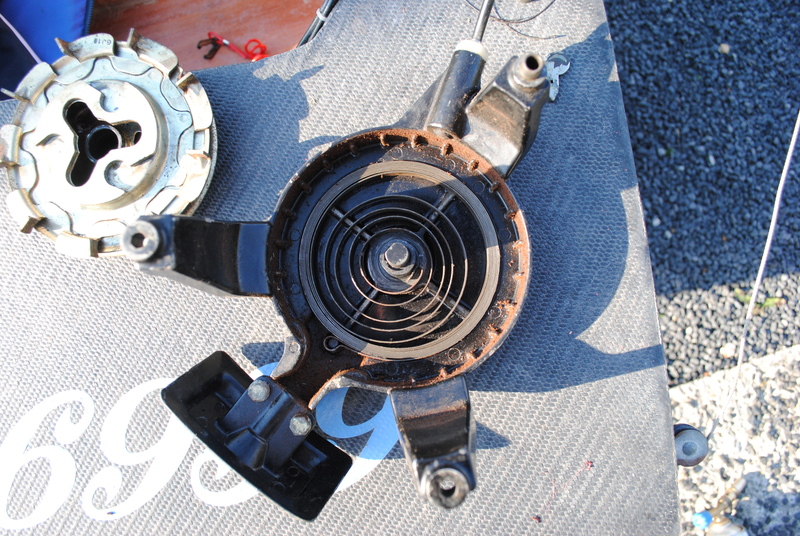
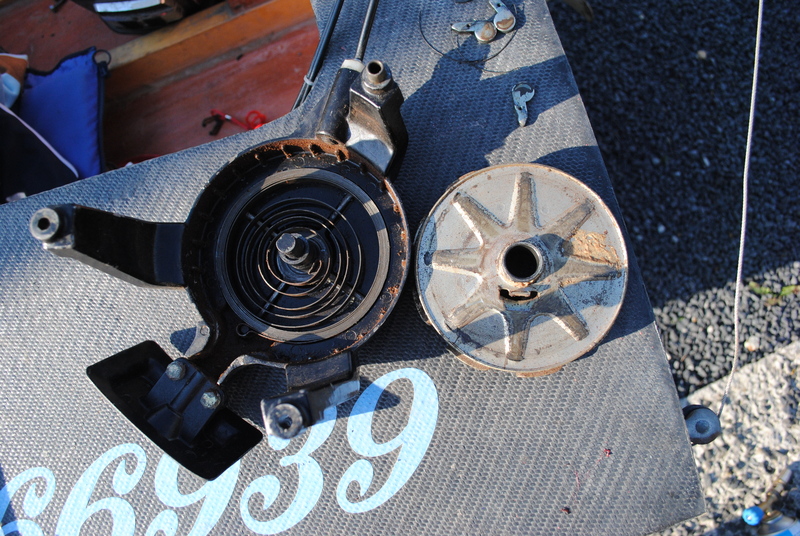
Take the pull-cord assembly apart until you get to the coil spring. A bit of caution is in place here: while the spring probably untensioned as the pull-cord broke, it could still be under tension so remove the pull-cord pulley with caution.
Before re-assembly, it is a good idea to prepare the new pull-cord by untangling it, cutting it roughly to twice the length of the broke pull-cord, and putting a knot in one end.
To re-assemble, fit the pull-cord pulley over the axle in the centre of the spring. Do not fit the new pull-cord yet. Push the pulley down and rotate it, you will feel the tab on the bottom of the pulley engage the bent over end of the coil as you turn. Now push all the way down.
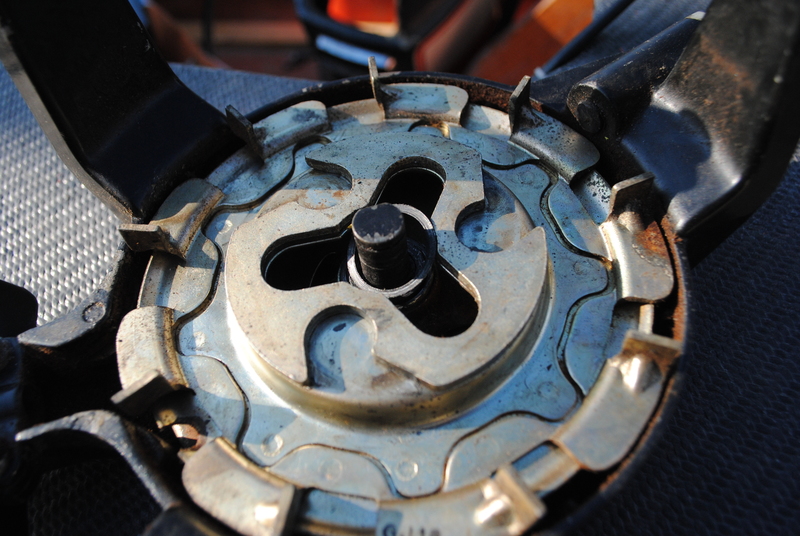
Here you see the pulley upside-down, showing the tab which engages the coil spring.
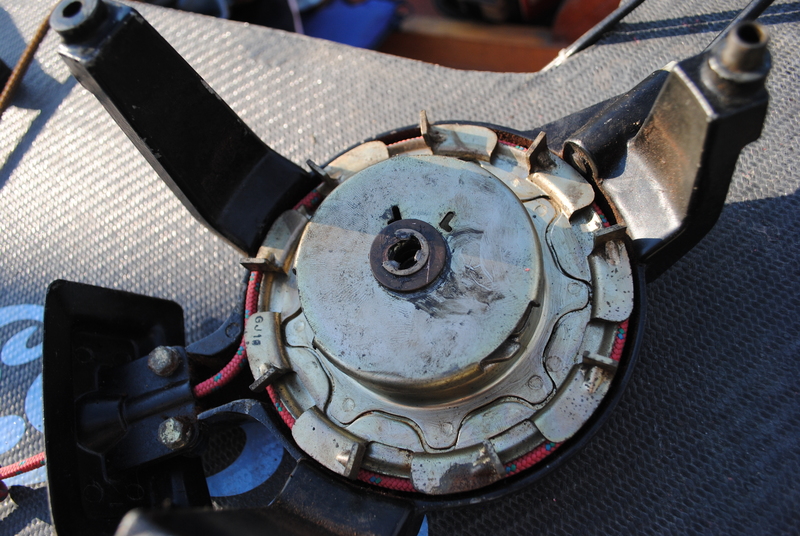
The pulley should now be fitted all the way down over the axis. Use light hammer strokes if necessary.

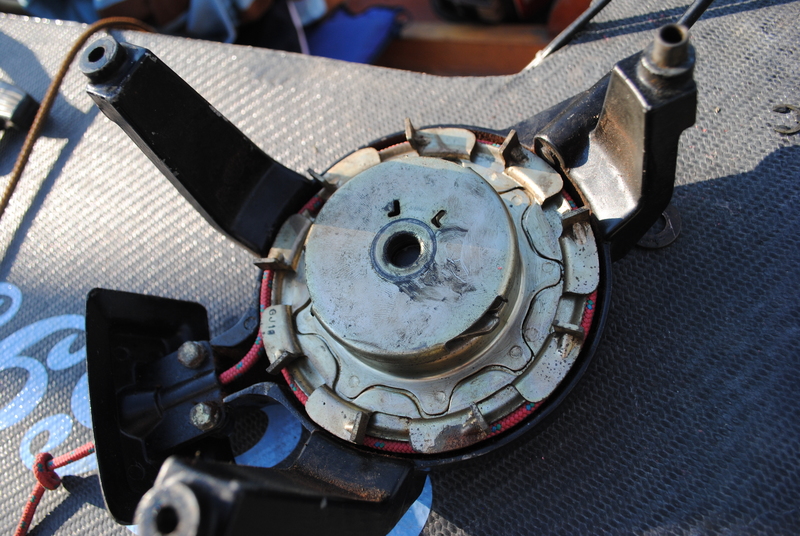
Next fit the washer over the axle. A bit of extra grease doesn’t hurt.
Next slide the collet over the axle. This is where the barrel spring will sit later on.

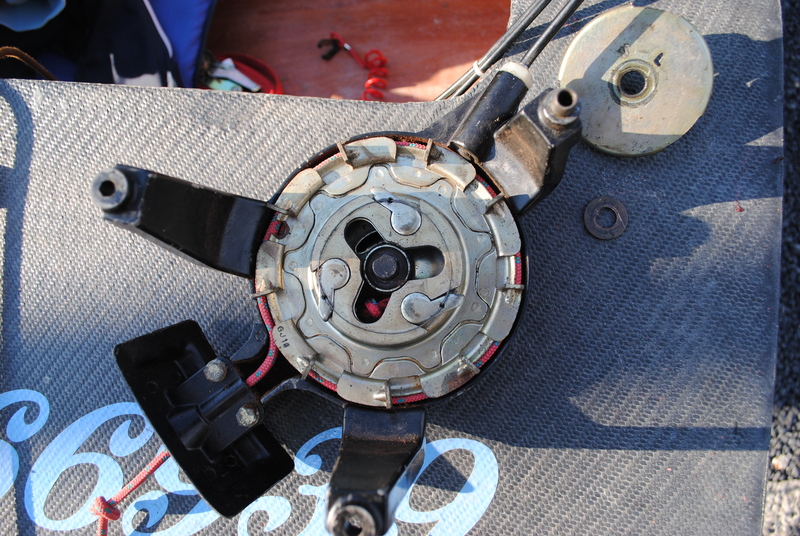
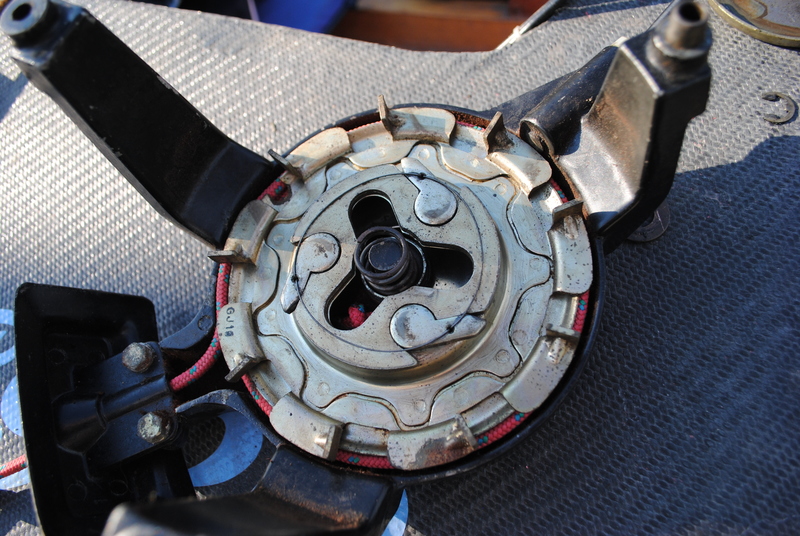
Now fit the 3 jaws in their circular slots.
Install the 3 springs which return them to their disengaged position.

Now is the time to tension the spring, so that the pull-cord will roll back up on the pulley. This can be done by hand by rotating the pulley plate counter-clockwise until you feel that the spring is fully wound and you can not move it any further without exerting unreasonable force. Caution: the pulley is now under tension and can seriously hurt you if you release it in an uncontrolled way! Also make sure that the pulley does not slide upwards on the axle, which will result in a violent release of the spring and a big tangle!
Now let’s install the new pull-cord. Choose a type of cord that is non-fraying and adequately strong for the job. I used 6mm parachute/climbing rope.
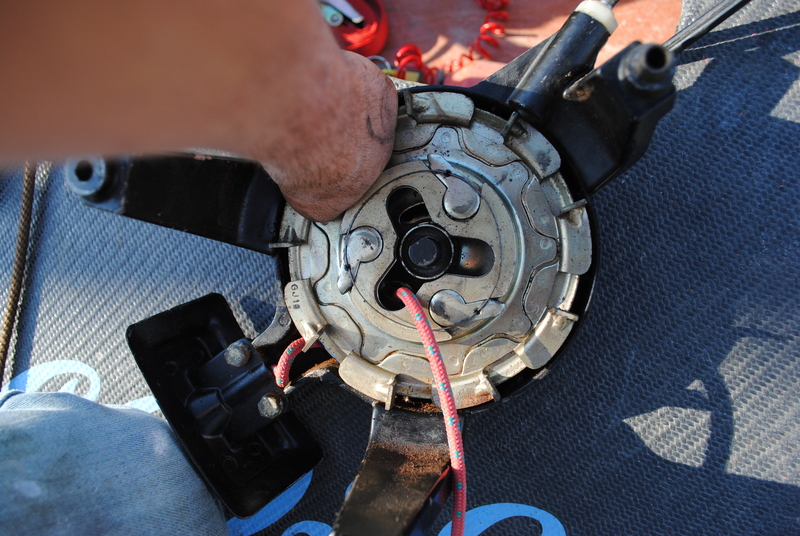
Rotate the pulley so that its cord opening is aligned with the cord opening in the outer shell of the assembly. Thread the cord through until the knot (which we tied earlier while we weren’t holding a spring-loaded mechanism) is fully inserted in the pulley. Don’t cut the cord to length yet.
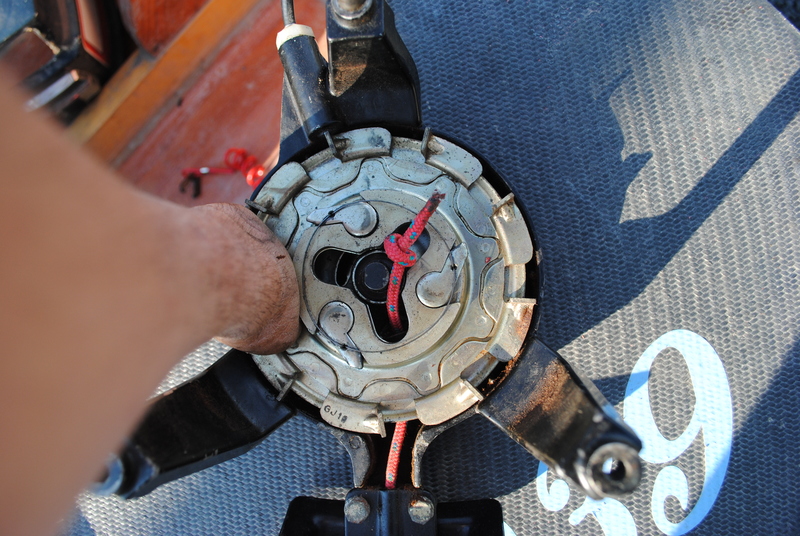
Now slowly allow to pulley to wind up the new pull-cord, until the pulley is full. If you wound up the spring all they way, the spring should still hold some tension at this point. If necessary, allow the pulley to take up some more rope until it stops winding up. This is where the extra length of rope comes in handy.
Now install the barrel spring over the axle.
Re-fit the closing disc.
Push down the disc and install the washer over the axle onto the closing disc. Push the assembly all the way down over the axle (with light hammer taps as needed), and fit the snap ring over the end of the axle. The assembly is now closed.
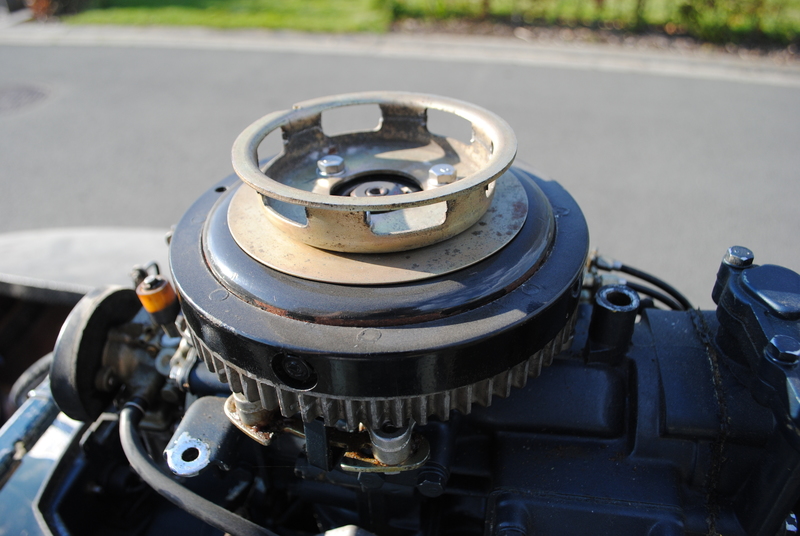
Now it’s time to re-mount this assembly to the top of the engine.
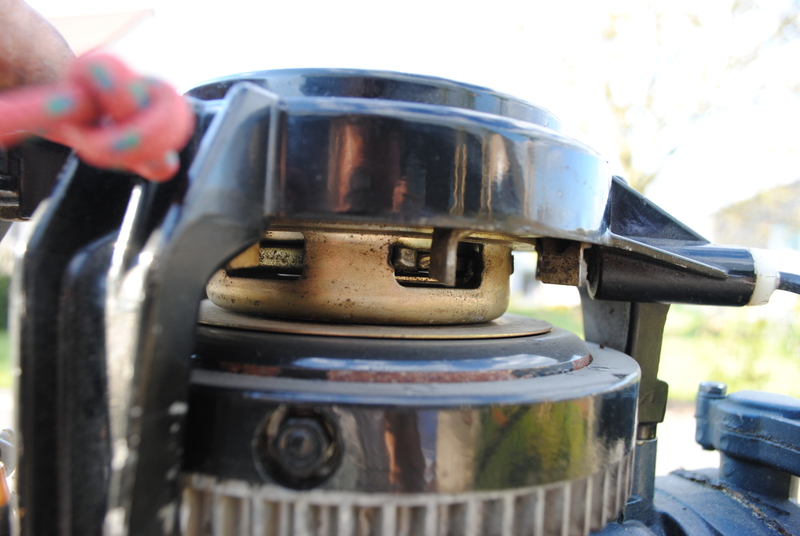
This is the ring in which the 3 jaws on the pull-cord pully engage. We’ll mount to pull-cord assembly on top of it.
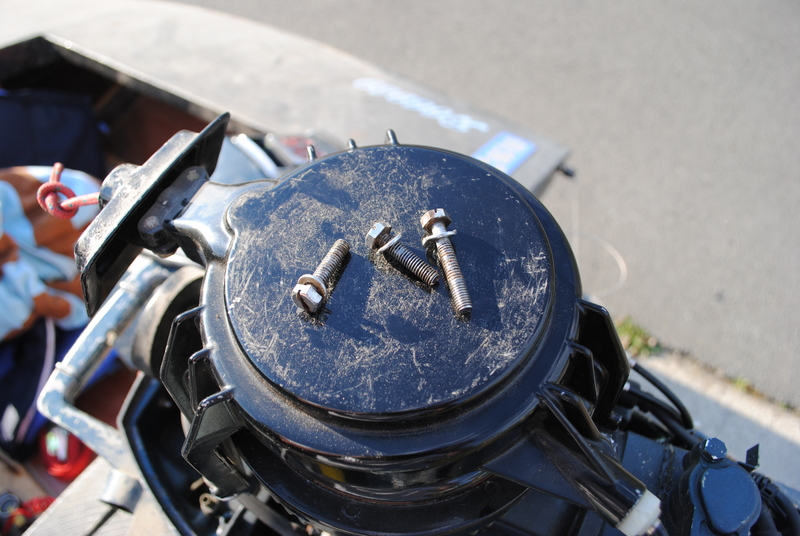
Three bolts are needed for this. One is slightly longer than the other two, this one will mount to the back of the engine (away from the pull-cord handle).
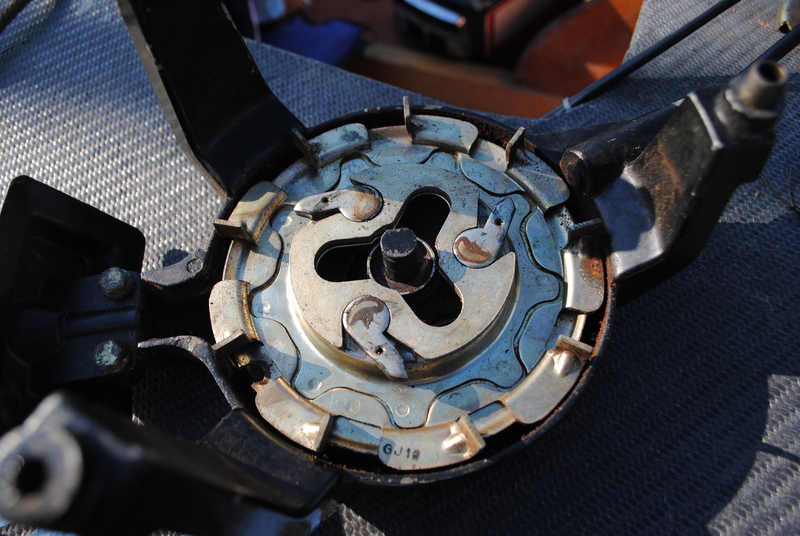
If re-assembled correctly, this is how the assembly should be mounted and how the 3 jaws should engage.
Now is the time to trim the pull-cord to length, and install the handle. Slide the handle over the pull-cord, and pull the cord all the way out of the engine. Now slide the handle up to the engine, and put a knot in the pull-cord at the correct length of the engine. Use the old pull-cord as a measure. Now you can let the engine wind up the cord, and cut off the excess after the knot. Depending on which type of cord you’re using, you may want to heat-seal the end to prevent fraying.
Now grab a cold beer and enjoy your repaired pull-cord.